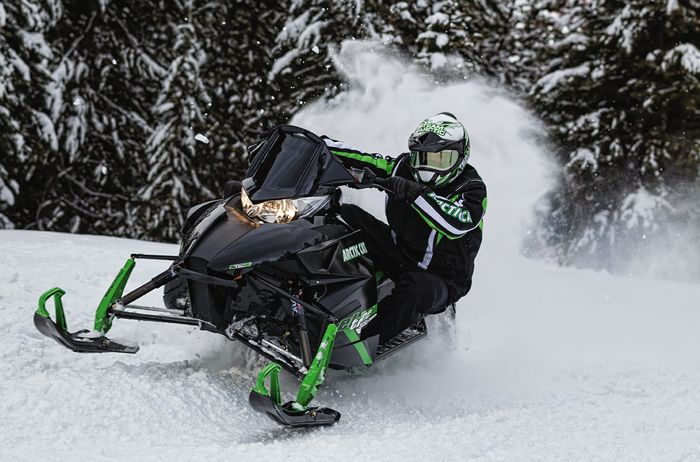
Snowmobiles come off the assembly with a mix of component choices and adjustment settings meant to satisfy a wide range of riding styles, conditions and riders. They work pretty dang well in most conditions, but they are not perfect for us.
In search of my own optimal set-up on my current 2014 ZR 6000 El Tigre, I recruited some Arctic Cat engineers to offer their guidelines for optimizing my sled, and yours.
(As a companion story to this one, I will post the changes that I’ve made to my own machines the past couple years, all aimed at achieving improving the handling for my riding style, preference and typical conditions.)
These Arctic Cat guidelines are for the 129-in. ProCross models (2012-2014 F and ZR models), as well as the 2014 XF ProCross models (those with 137-in. tracks). However, many of the set-up guidelines would be a basis for making changes to other Arctic Cat models and chassis.
Keep in mind that these are only suggestions for riders interested in experimenting with a different set-up.
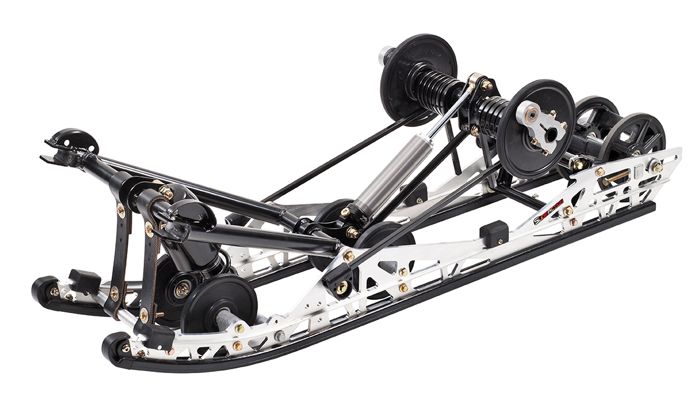
Smooth Trail & Improved Cornering
For improved cornering performance on smooth trails, Arctic Cat suggest the following:
1. Reduce ski spring preload by 1/8-in. to 1/8-in. on models with coil-over shocks, or reduce the air pressure in the FOX FLOAT ski shocks by 5-10 psi.
The reduced preload on the front suspensions will cause more ride-in, or sag, which lowers the front end. The result will be more ski pressure while decelerating, as well as decreased rearward weight-transfer during acceleration.
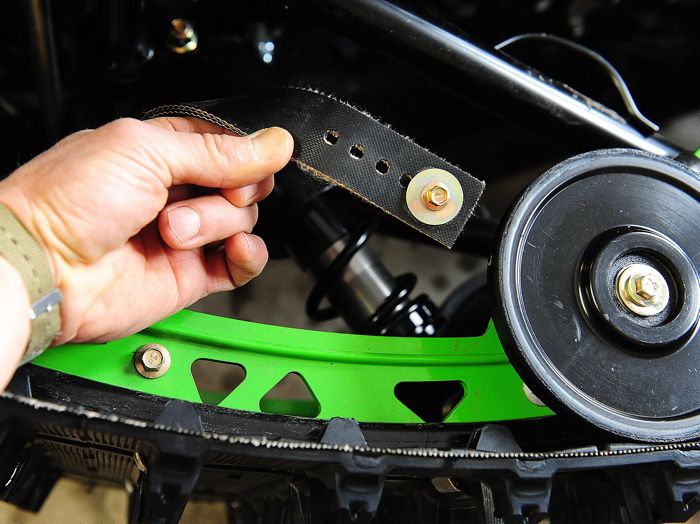
2. Reduce the front arm travel of the rear suspension by changing the mounting holes for the limiter straps.
“Tightening” the straps 1-2 holes from the stock setting will shorten front arm travel, which will add more ski pressure, lower the sled’s ride height and reduce weight transfer during acceleration.
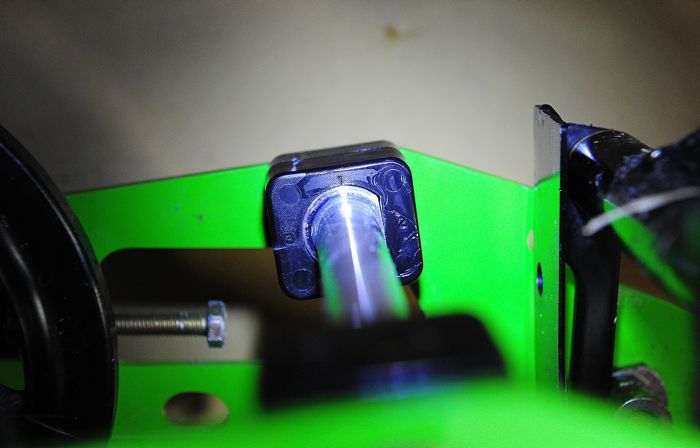
3. Turn both coupling blocks on the rear arm of the rear suspension to the #3 position from the stock #1 position. This will create “faster” coupling action to reduce ski lift and weight transfer.
4. Increase the preload on the rear torsion springs in the rear suspension, which creates a slightly higher rear ride height, reduces weight transfer during acceleration and puts more pressure on the skis during deceleration.
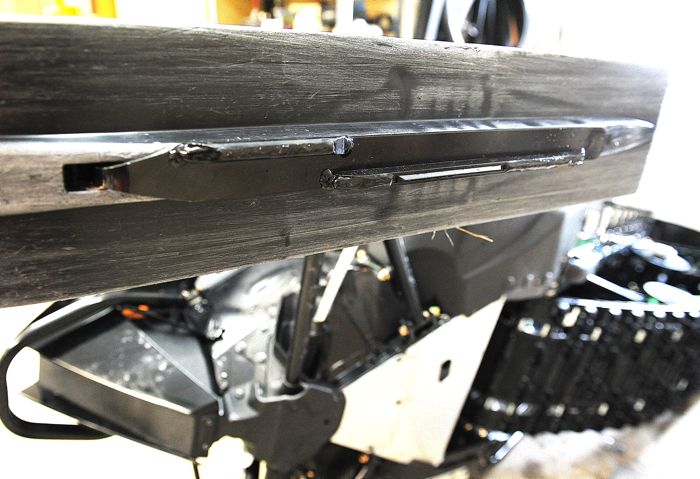
5. Use the Split Ski Runners for reduced darting [most stock F/ZR/XF models come with a single bar carbide]. There are three different host bar depth options for the split/dual runners, with more precise cornering coming with the increasing depth:
For normal/average trail speeds and cornering performance, use P/N 2703-598/599. BE SURE to mount them so that the carbide portion of the split runner is on the inside of each ski.
For higher speeds and more aggressive riding, use P/N 2603-988/989 with the carbide portion on the inside of each ski.
For the most aggressive performance, use P/N 2603-930/931 with the carbide portion on the inside of each ski.
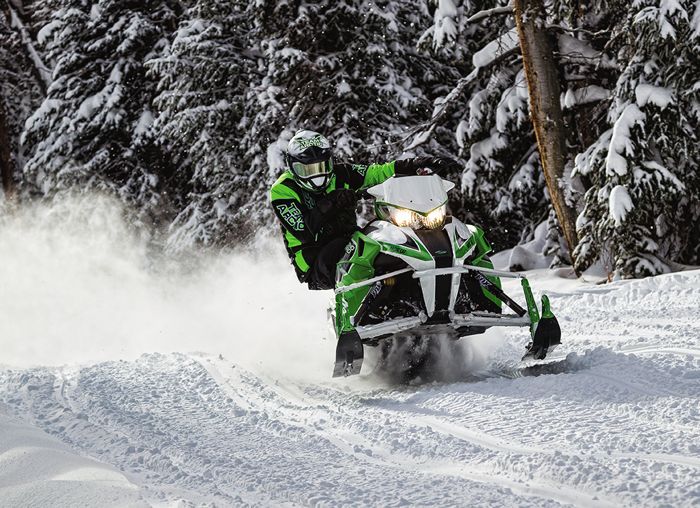
Normal Trail Conditions & Small-to-Medium Bump Riding
For optimal set-up when riding trails with small to medium bumps, Arctic Cat suggests the following:
1. Preserve the stock ski spring preload calibration
2. Reduce front arm travel by one hole compared to the stock set-up.
3. Increase the rear torsion spring preload.
4. Turn the coupling blocks from #1 to #2 or #3, which will give better transfer control, and still good bump control. You will experience more feedback in trail chop, but also gain some resistance in G-bumps.
5. Use the stock single bar carbide runners
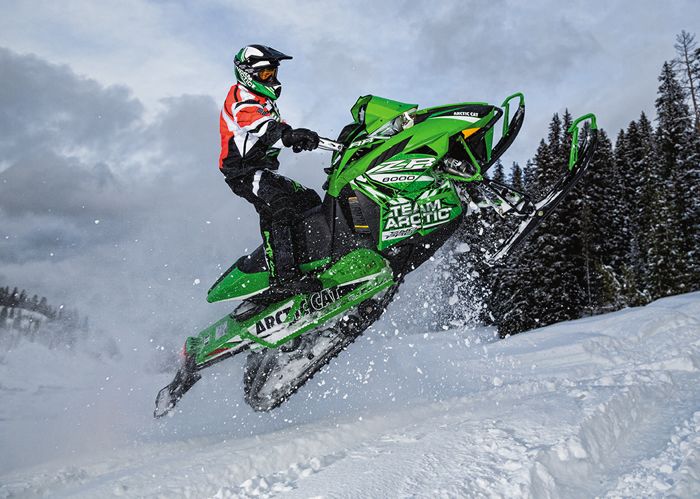
Large Bumps & High Speed Ditch Riding
For optimal set-up when riding big bumps and/or aggressive ditch riding like the dude above, Arctic Cat suggests the following:
1. Increase ski spring preload (or air in FOX FLOATS) from factory settings, in increments of1/4 in., to stiffen the front suspension and reduce bottoming-out.
2. Keep the limiter strap mounting holes in their stock setting, for full front arm travel.
3. Increase rear torsion spring preload.
4. Turning the coupling blocks to 2nd or 3rd positions will improve resistance to suspension bottoming.
5. Stock ski runners.
6. For riders who still need more resistance to bottoming, Fox Racing Shocks (and other performance shops) has service centers that revalve shocks to increase or decrease your damping according to your needs.
Likewise, accessory springs are available for the ski shocks and both shocks in the skidframe.


Are you saying to put the stock dual carbide marked with and L on the right ski, and the one marked with an R on the left ski? This would put the carbide to the inside like you say above. Mine are to the outside of the ski, that is the stock set up, as I’m sure you already know. Just wondering if that was an error.
I am also perplexed about the installation of the staggard wearbars! Your saying to put the left hand wearbar on the right side (and right on left)? This would be the only way to have the carbide on the inside of the ski.
Yes, ignore the “L” and “R” and put the carbide to the inside of the ski, just as Cat recommends in this story.
Awesome info, you bet I’ll be tinkering with my sled now!
One question – it seems like for all three scenarios, we’re increasing the coupler setting? When we would want to back off on coupling?
Josh, Back it off if you feel like you want more weight transfer (the shifting of weight rearward while the skis rise) during acceleration, and/or if the suspension feels too harsh.
Generally, the less coupling the better the suspension feels in the stutter bumps.
I run in #2 or #3.
read your article,good info. here is my issue with 2015 xf 8000,coupler block #1,front skid shock backed of to near no preload on spring,straps shortened one hole and front fox floats @ 65 psi ( have tried 55 – 80 ) with little effect in extreme rear suspension stiffness ,tries to buck me off at moderate speeds on even mild bumps in the trail.feels if rear is too stiff for my 175lbs frame.turn in is good no inside ski lift.acceleration out of corners is good.have 8 ” cobra carbides on front skis.any suggestion on next step to try?
Nice article John! During your testing for the article where did you have your ski width set at? Have you experimented with the ski width to see any noticeable difference in handling? thanks for your time.
What setting can reduce inside ski lift braking into & accelerating out of turns? I have the suspension set for trail above but braking into turns it’s a bit tippy.
Thanks!
will the artic cat front skid shock spring #1704-736 fit a 2014 yamaha viper ltx 137
John my good friends wife is new to snowmobiling and she recently got a 2015 ZR 4000 and she is extremely uncomfortable on it. She feels as if it is very very tippy. We ride in northern WI so trails can range from freshly groomed to beat up. She feels like she is going to tip in the corners and tip when she hits bumps. What Should we do? Thanks in advance!!
Since this is a few yr old article,has there been any new setups tried from when the article came out??? I have try different settings but the ride seems still stiff & the eltigre still wants to push in a corner if u get on the throdle early! HUH!!!!
I have a 2014 xf8000 sno pro. I love the sled except I cannot get the skis off the ground at all. I have tried the blocks and the front shock pressure but nothing seems to make a difference. Any help would be great. I want to be able to crack throttle and have skis come up.
Thanks!!
Have 2018 Cross Trek XF8000, can’t tell from picture in manual if rear shock in position 1, 2 or 3 (picture is very small) and cannot really see any markings on the adjustment cam. Are you above to send a picture/PDF (large) to show the positions so I can compare with what I have. I suspect I am in position one, seats sags quite a bit when I sit on it. 6’2″ and 220 lbs.
Thanks, Mark.